Project Title: 360 Error Threshold
360 Mocap Film | Unreal Engine 5
3D Animation, Ruiyang Peng, r.peng0520251@arts.ac.uk
3D animation, Xiaomeng Jiang x.jiang0220253@arts.ac.uk
Virtual Effects, Xiaochen Liu x.liu0620255@arts.ac.uk
Virtual Reality, YuTung Wu y.wu0220258@arts.ac.uk
Virtual Reality, Zhenhe Wu z.wu0520251@arts.ac.uk
Virtual Reality, Qianrong Li q.li0520252@arts.ac.uk
WEEK1 12.01 – 16.01 Inspiration Idea & Project Production Record
Post Processing Shader
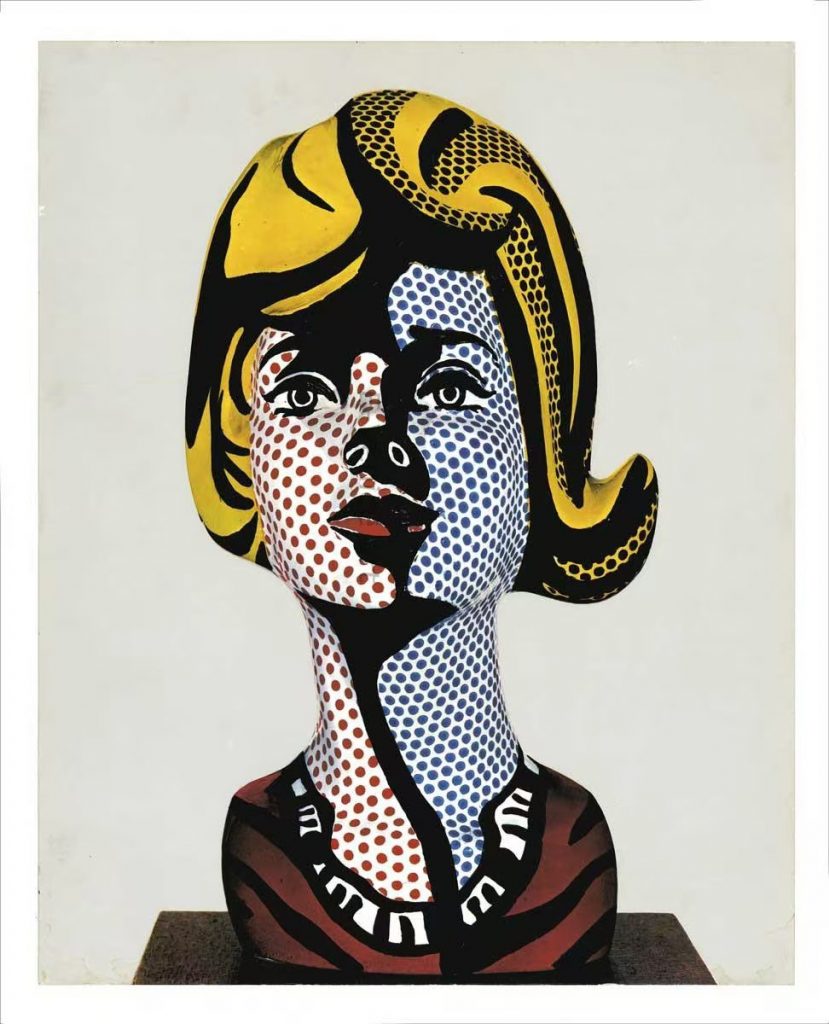
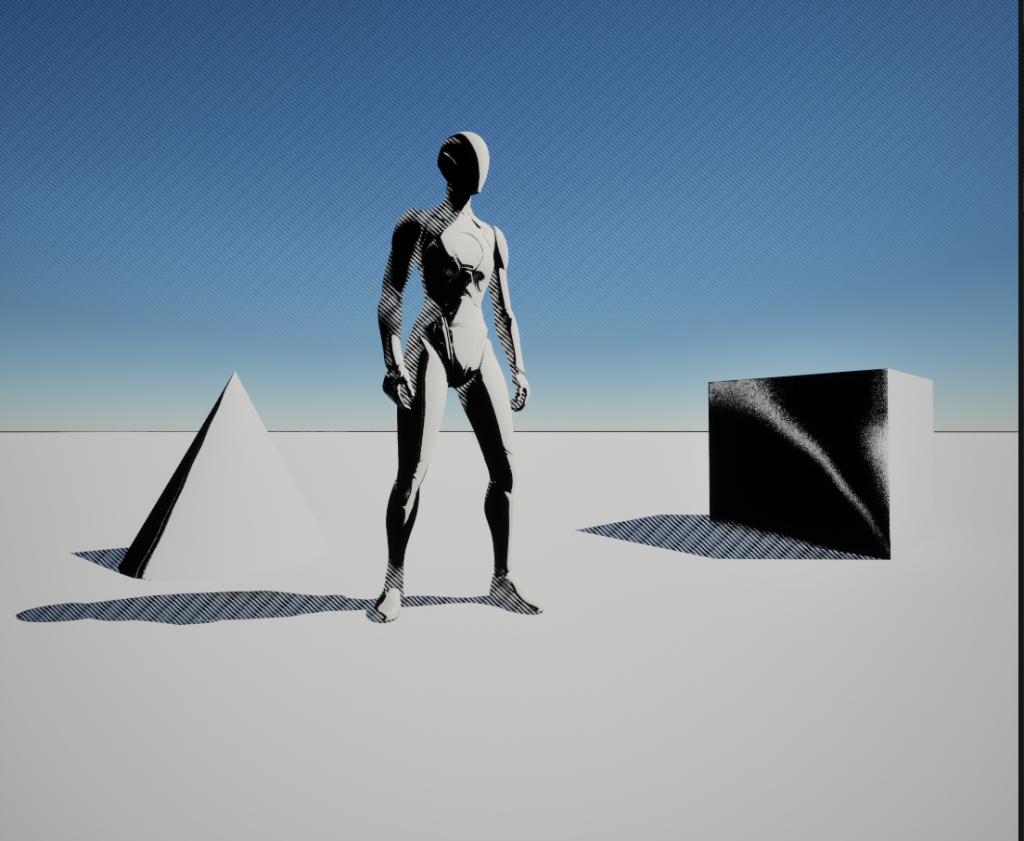
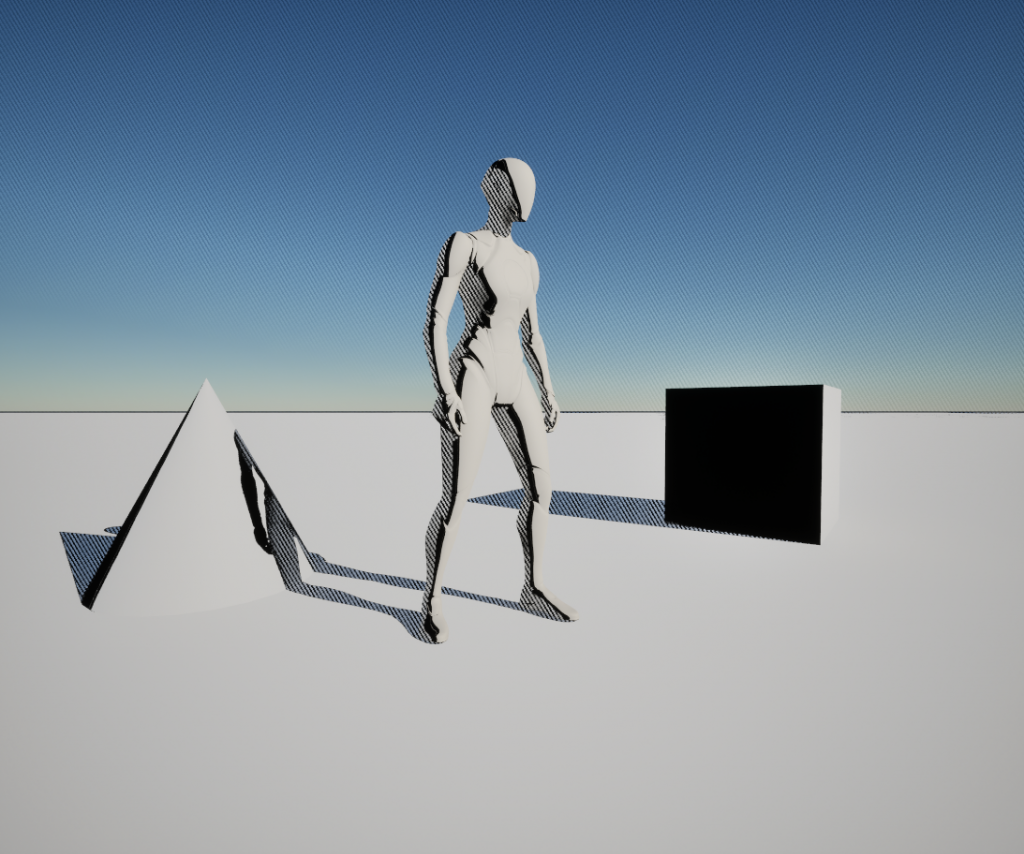
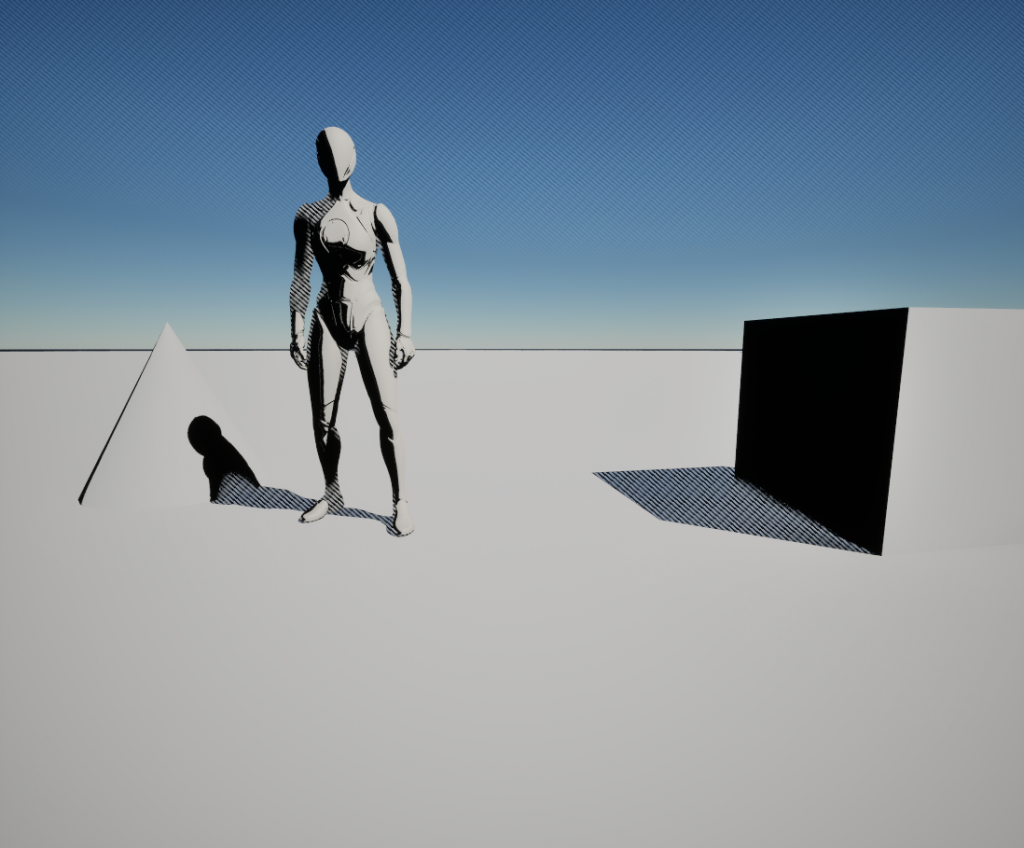
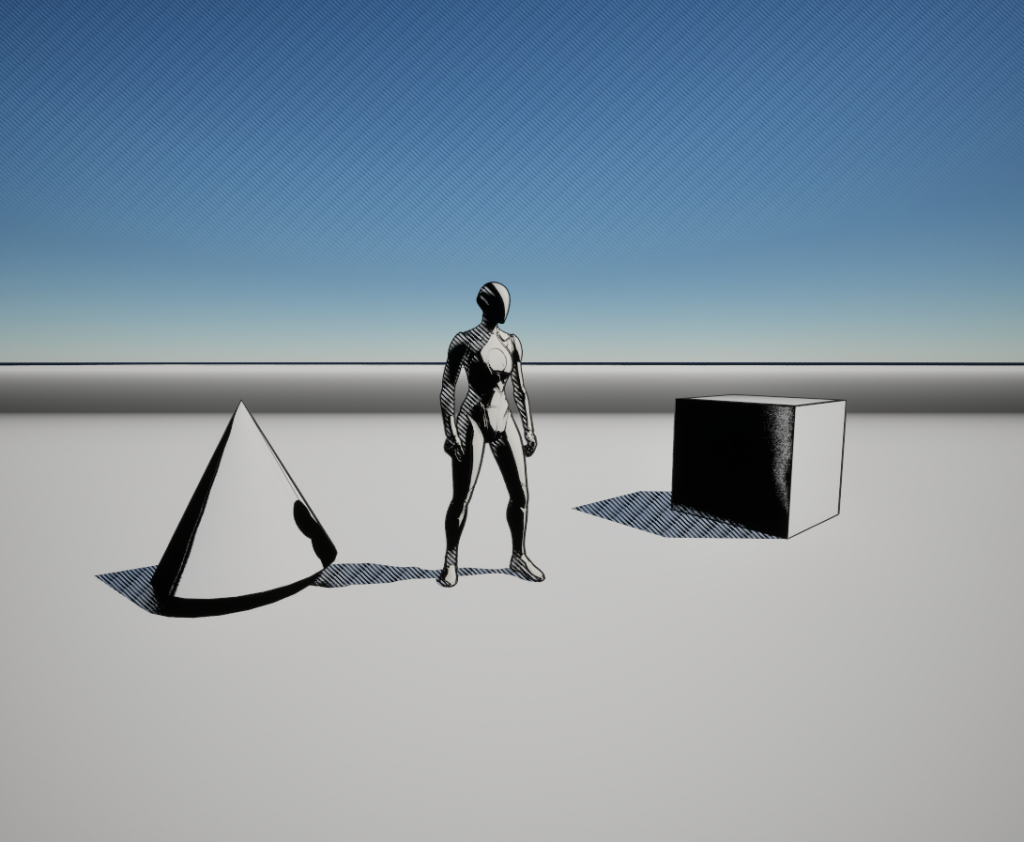
We’ve decided to use a halftone style for this piece, so I started testing post-processing materials in Unreal. However, I ran into an issue with the shadows rendering incorrectly, which still needs to be resolved.
WEEK2 19.01 – 23.01 Project Production Record
Post Processing Shader
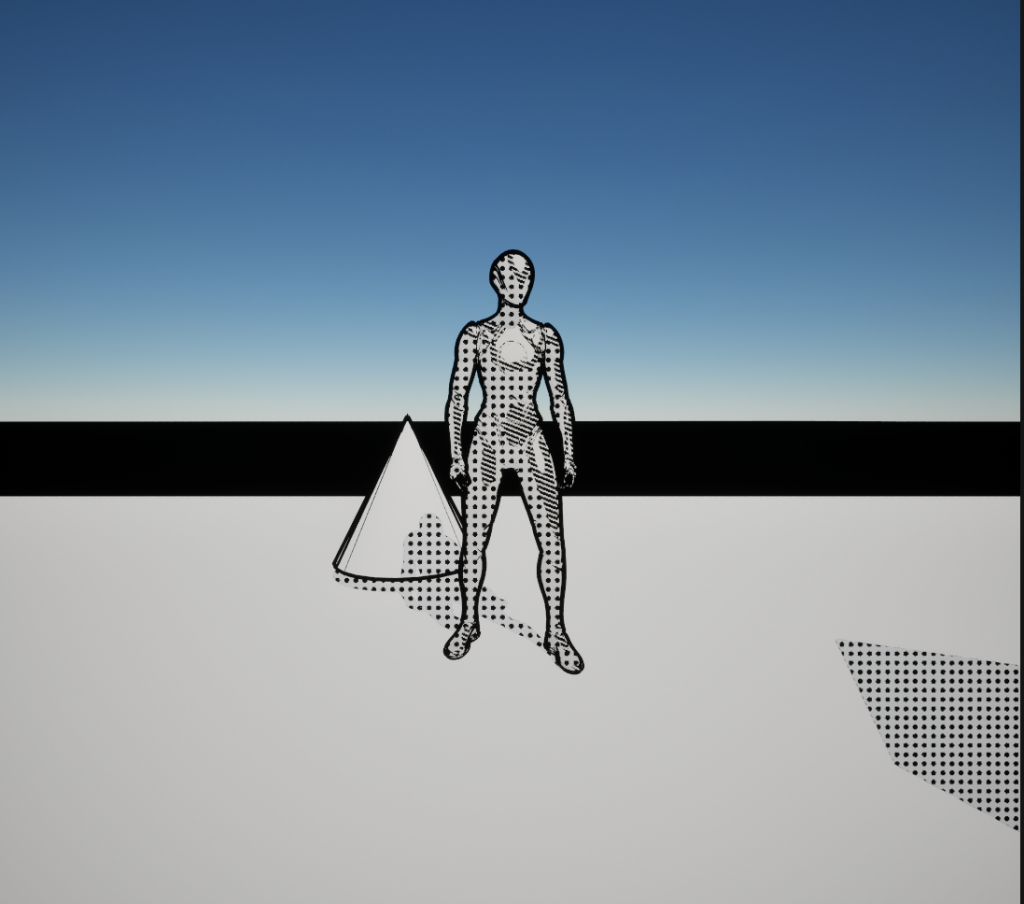
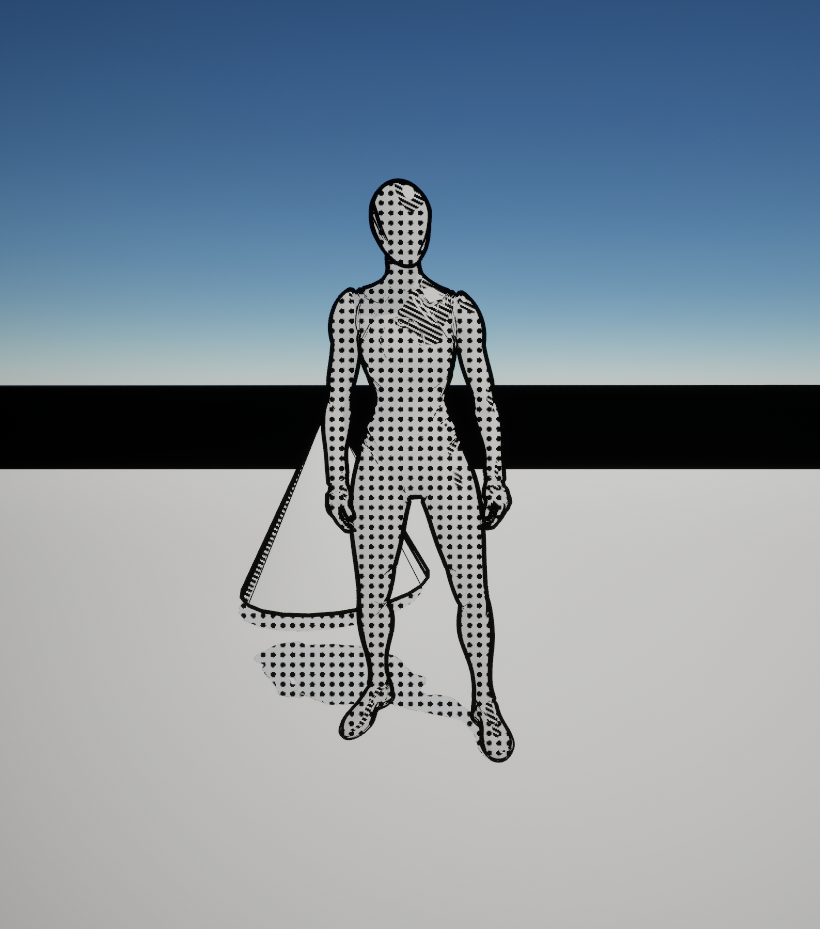
After discussing and confirming the style direction with the team, we decided to add circular halftones and outlines on top of the original diagonal halftones.
WEEK3 26.01 – 30.01 Project Production Record
Export 360 Video Testing
While waiting for the materials, I also worked with Qianrong Li to research exporting 360 footage from Unreal and stitching it into Premiere. We made sure that the working files handed off to the VFX team could be correctly exported.
WEEK4 02.02 – 06.02 Project Production Record
Input Model & Reset Materials
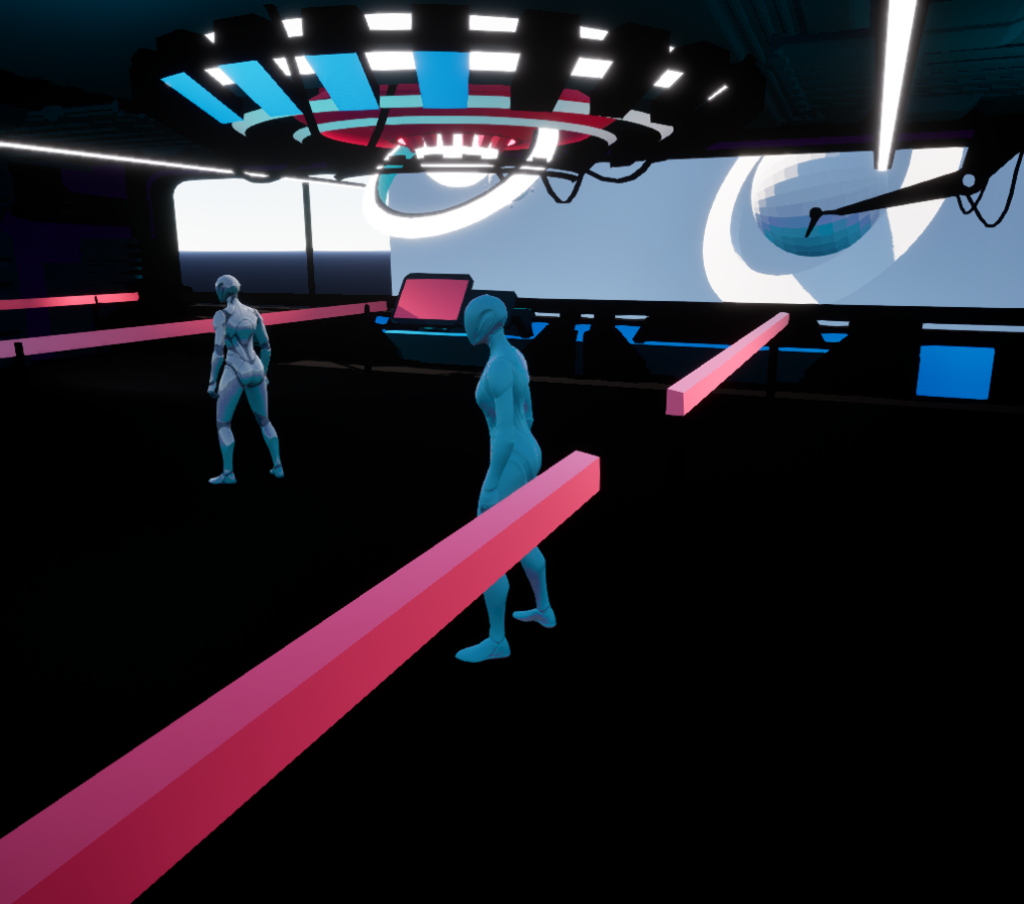
After receiving the scene model, we imported it into Unreal and began reapplying materials to prepare for the stylization process.
WEEK5 09.02 – 13.02 Project Production Record
Add Post Processing Shader
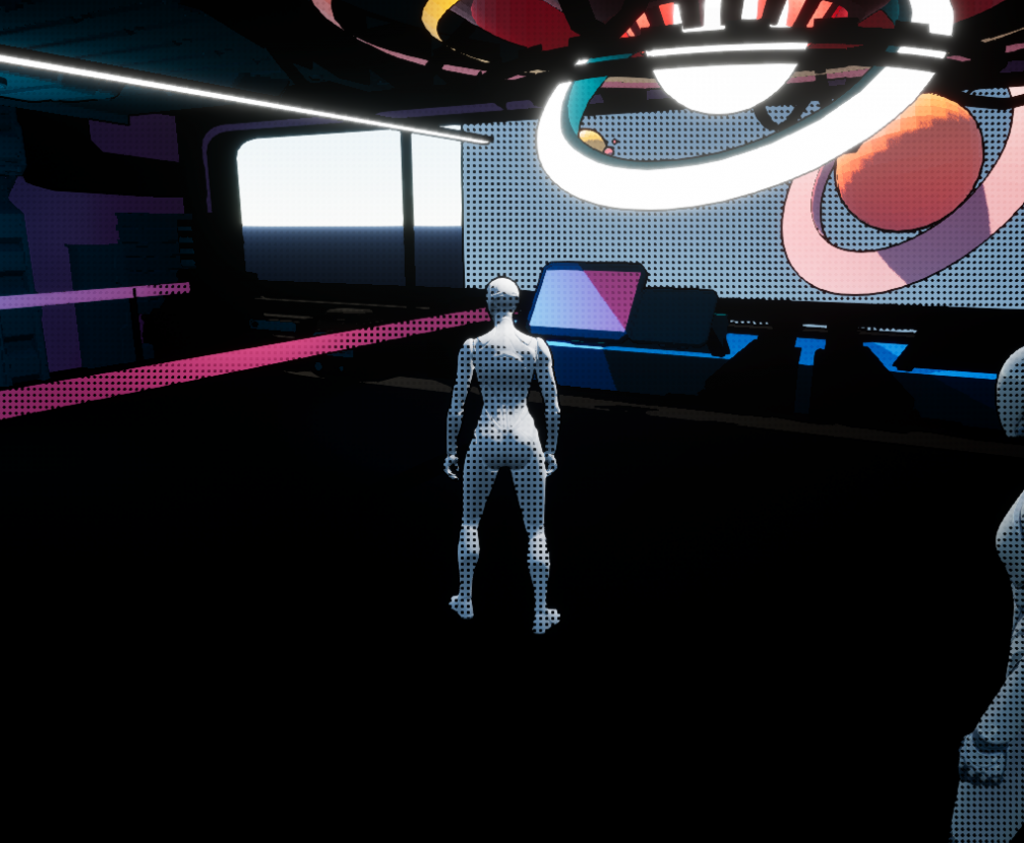
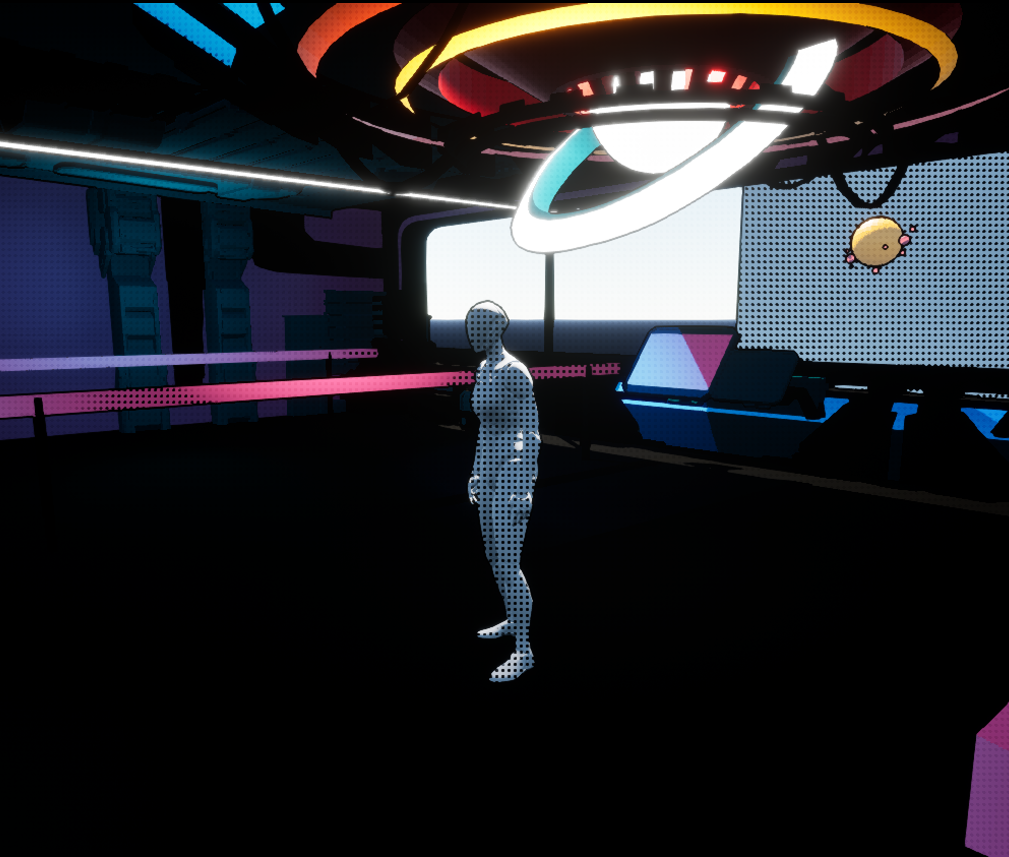
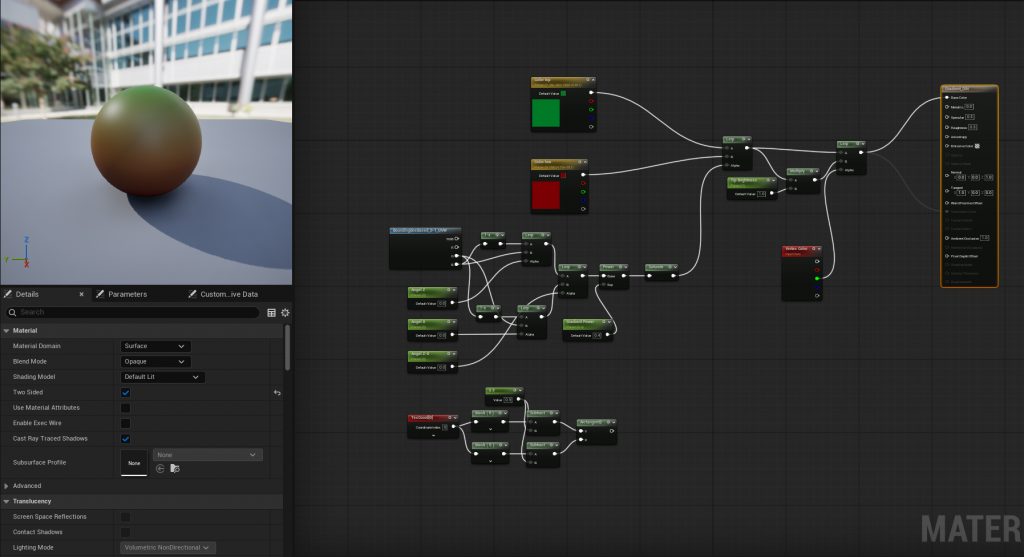
Since we found that standard materials couldn’t achieve the style we wanted, I ended up creating a custom gradient material. Additionally, I reactivated the previous post-processing setup to integrate it with the new changes.
WEEK6 16.02 – 20.02 Project Production Record
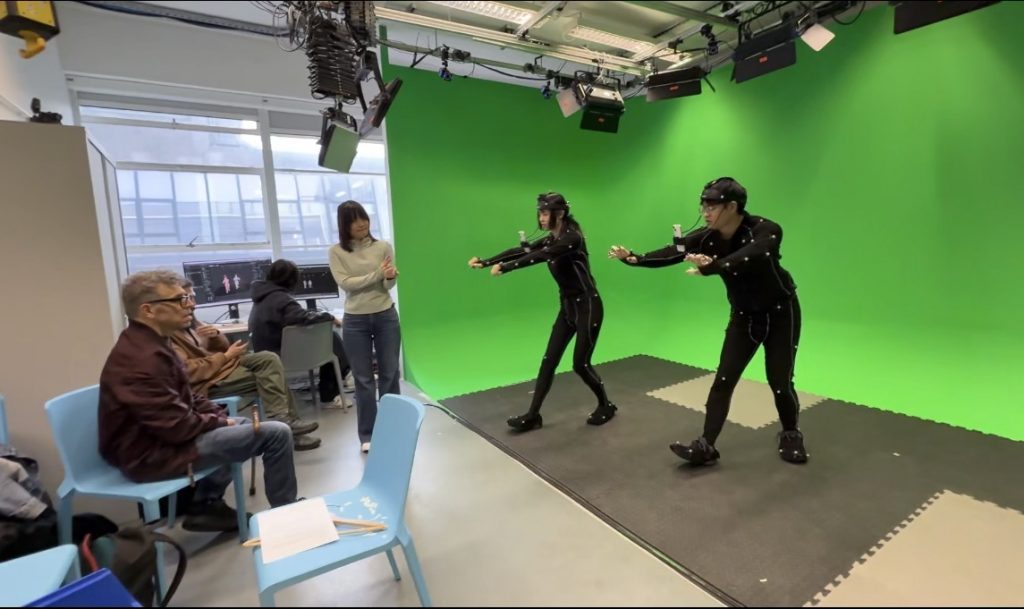
Materials & Mocap
I separated the outline into foreground and background layers, allowing independent control over the thickness and threshold of each part.
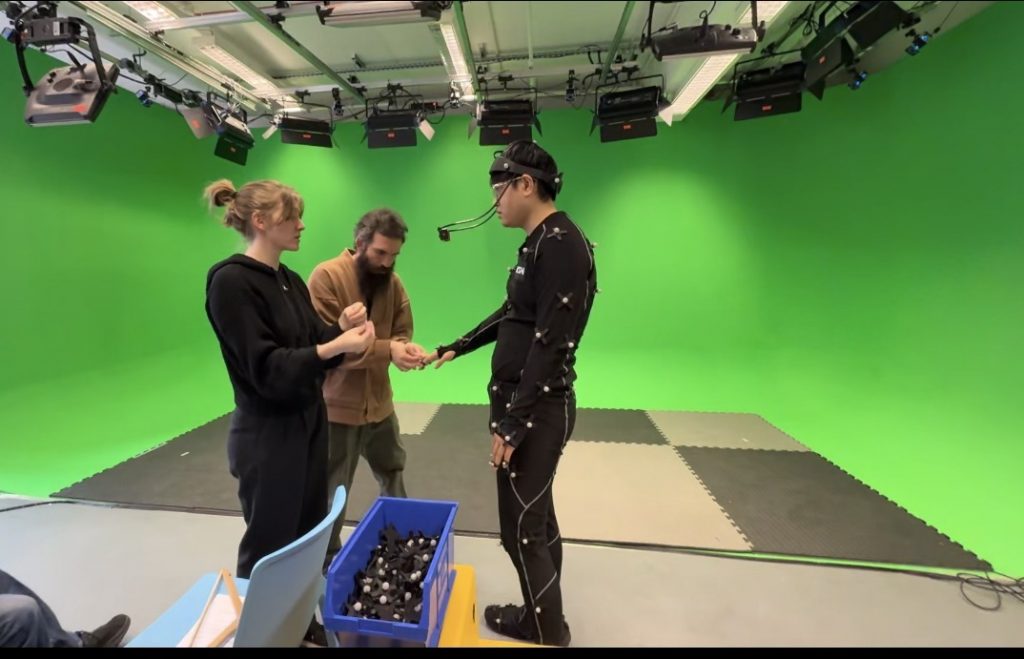
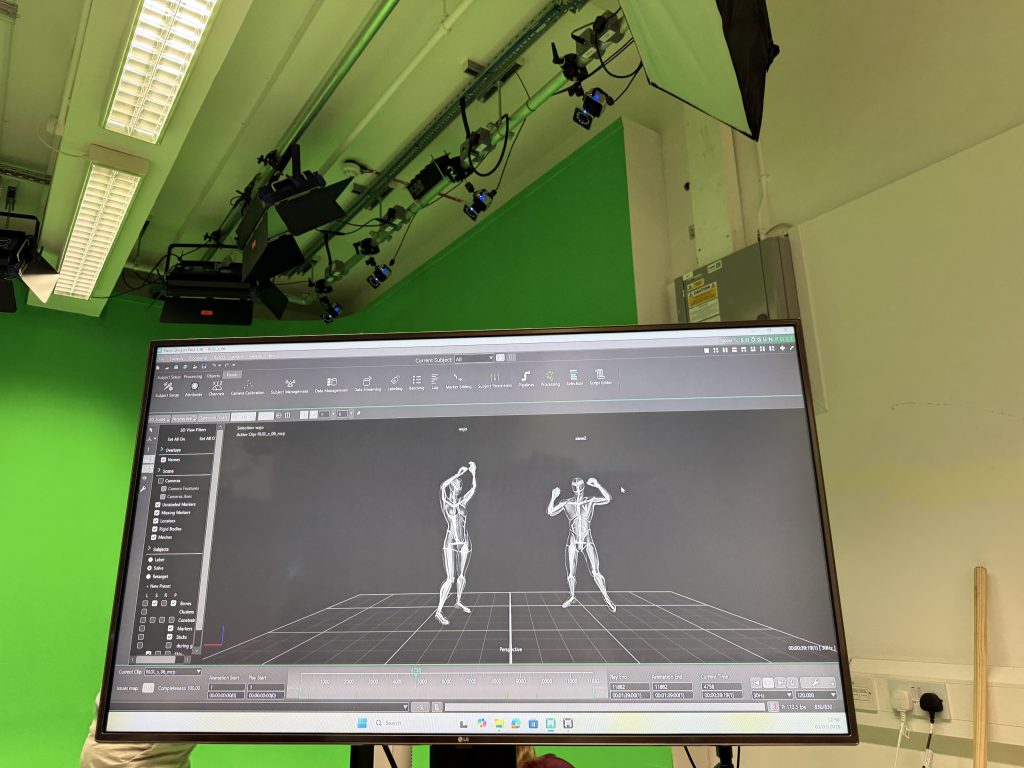
For the narrative, we added a panoramic projection material. Since the material needs to be set as semi-transparent to create the penetrating radio wave effect, it ended up disabling the depth used for outline rendering. We spent some time discussing this with the teacher, pinpointing the issue, and managed to reopen the depth functionality.
Mocap
WEEK7 23.02 – 27.02 Project Production Record
Mocap Animation & Sky Box Fixing
I connected the animations using an Animation Blueprint, and used Transform (Modify) Bone and Rotate Root Bone to align the origins of the two animations as closely as possible, allowing for smoother blending. However, this approach only achieves better results at the beginning of the animation. When transitioning back to the idle state, there is still noticeable jitter due to the positional displacement from the mocap animation, which causes visible popping during the blend.
We created a skybox, but due to the small window size and the large scale of the skybox, the image that originally aligned with the window became overly enlarged. From the camera’s perspective, only a small portion was visible. Therefore, while waiting for a new skybox texture to be produced, I adjusted the material nodes to modify the scale and distortion, allowing the skybox content to be more concentrated within the window area.
WEEK8 02.03 – 06.03 Project Production Record
Mocap Animation with Custom Model & Light
After receiving the 3D model created by a 3D animation student, I imported it into the project and adjusted the metallic properties, recording videos for review and communication. In the final stage, I used Sphere Reflection Capture to pre-build more refined reflections, enhancing the overall visual quality.
After importing the model, I applied mocap animations and used recorded videos to review the results with the art team, ensuring that the current visual outcome aligned with the intended artistic direction.
I also experimented with an alternative digital-style material to give the model a fully projected, holographic-like appearance.
I also created simulated lighting effects by using cone-shaped geometry combined with a fade-out material to produce sharp light beams, enhancing the stylized, cartoon-like visual quality of the scene.
WEEK9 09.03 – 13.03 Project Production Record
Sequence Output & Exhibition
Here, I used Unreal Engine Sequencer combined with Trigger-based Level Blueprints to produce a complete animation sequence. This setup controlled various elements, including light switching, color transitions with fade in/out and movement, UI typing effects and open/close animations, video playback, background music transitions with fade in/out, 3D sound effects, and character animation playback, among others.
I also implemented a custom flashing lighting effect that can be triggered through the Sequencer. Additionally, for the two main spotlights illuminating the character, I created functions that allow them to follow the dancer’s movement, ensuring consistent lighting on the character.
I also developed laser lighting effects to further enhance the visual atmosphere.
For the UI, we aimed to retain the pixelated material style created in Maya by a teammate. I first rendered a separate UI sequence and handed it over, after which it was re-rendered and exported as a video. As a result, I disabled the typing effect, kept only the open/close animations, and used direct video playback for the final implementation.
Additionally, during the rendering process, I encountered an issue where using MP4 files with the Media Player in Sequencer caused timing mismatches. Even though playback appeared correct in Play mode, the rendered output would either fail to play properly or become out of sync. To resolve this, I converted the video into a JPG image sequence and used it with the Media Player instead, which successfully ensured accurate playback in the final render.
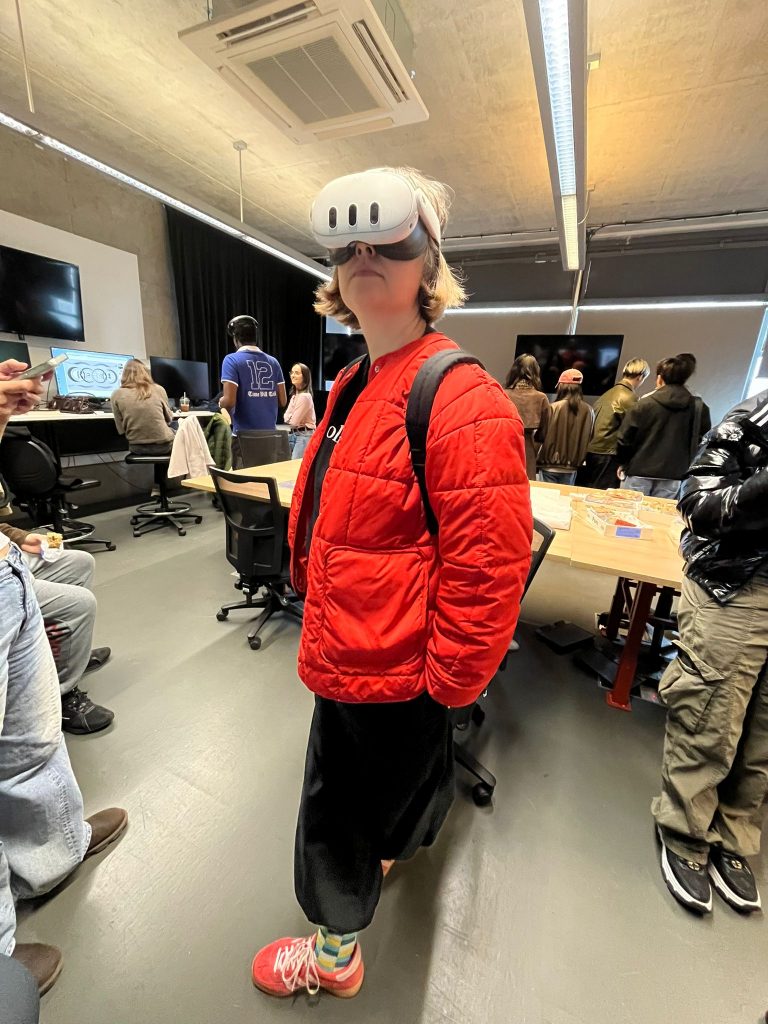
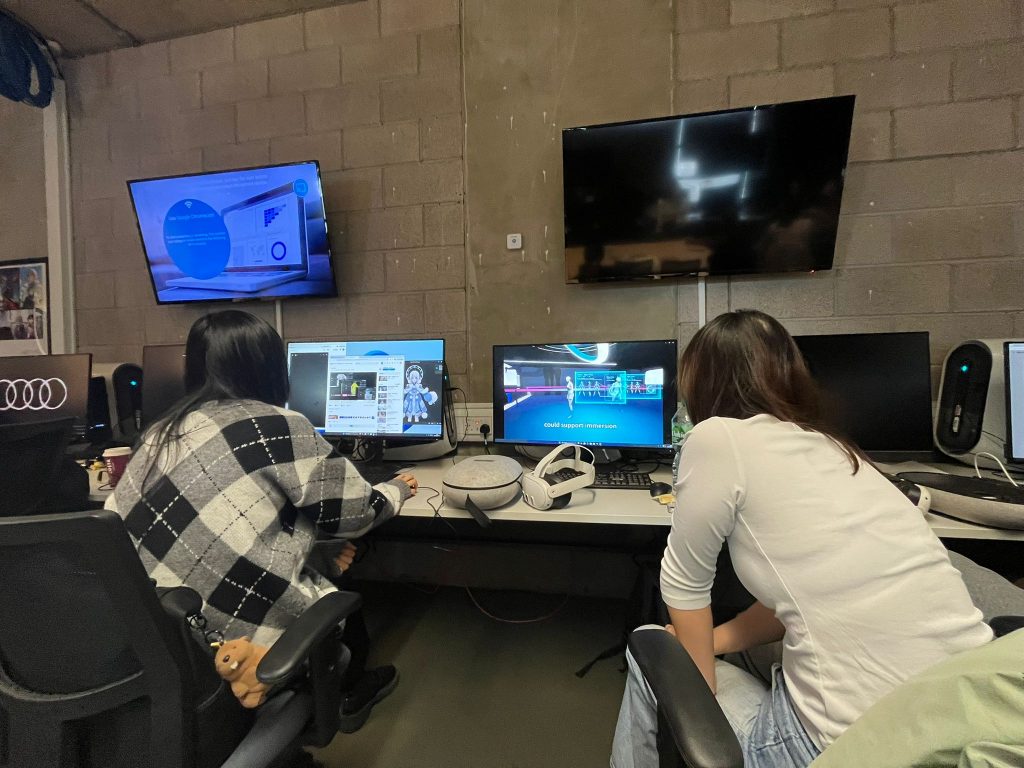
In addition to submitting the required 2D video, we also uploaded the original 360° video to YouTube, making it more accessible for viewers to watch and experience.
Photo in Exhibition
Leave a Reply